4 – Creating Calendar Views
If you want to change what you see on the calendar on the View Planner page, from calendar type to specific dates, employees or leave types, you can use Calendar Views to save a set of options that you use on a regular basis.
To create your own custom views for the View Planner page, follow the guide below.
1. Click on the Leave menu and then My Settings
2. Then click the “Add new +” button, on the left-hand side of the screen in the Calendar Views section
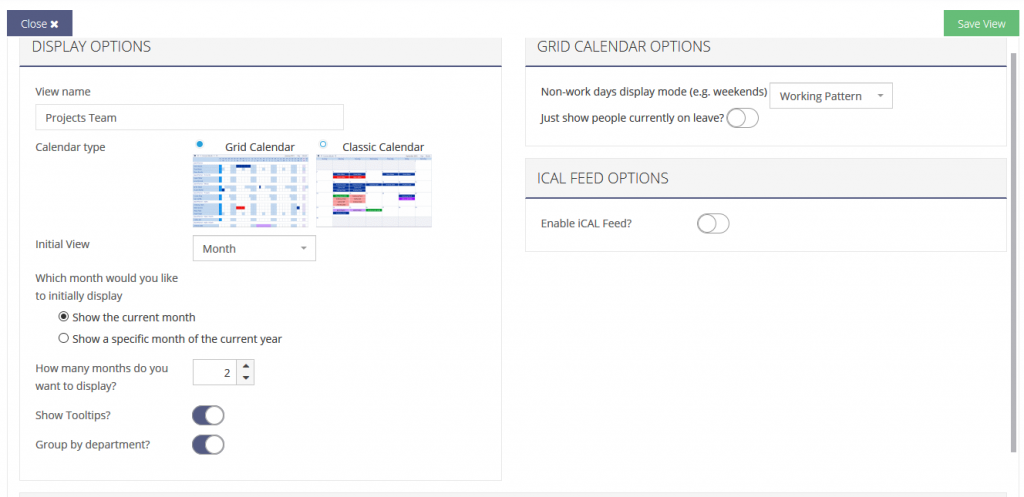
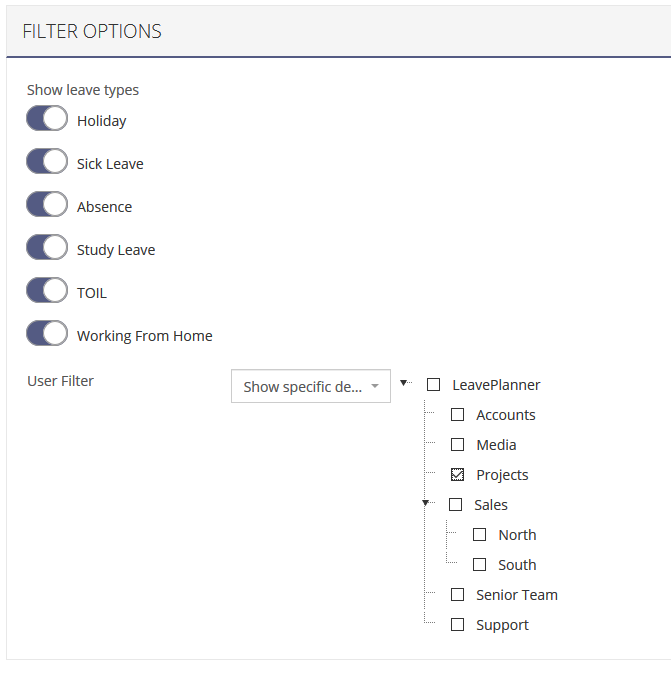
3. Give your new view a name, and select the options you want to be applied when you use this view including any specific filtering options on who to display on the calendar.
4. Click the Save View button at the top right of the page, to confirm your selected options and create the Calendar View to be used on the View Planner screen.