3.4 – Leave Blackouts
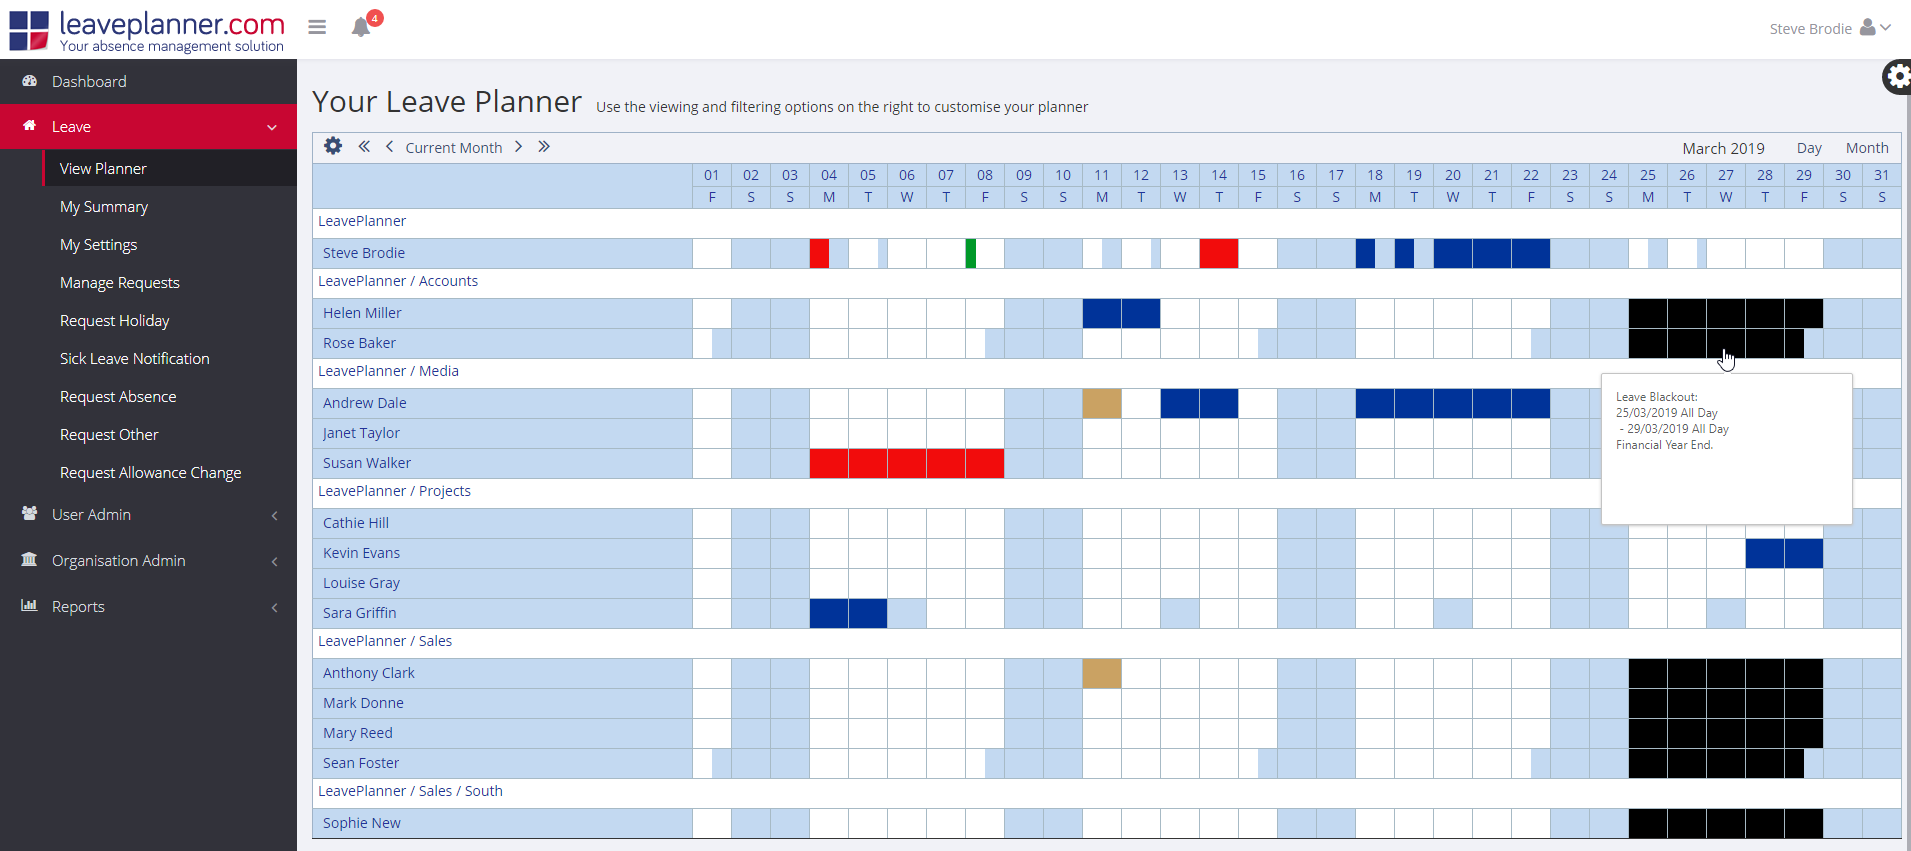
You can use Leave Blackouts to create warnings or stop requests for certain days in the calendar. Once created, Leave Blackouts can be viewed on the calendar in View Planner.
Current Blackout Dates
View the Current Blackout Dates on the left-hand side. Use the dropdown selector to choose the year, and then the Blackout dates for that year are listed below. To add a new date, hit the ‘Add a blackout’ button.
Editing Blackout Dates
- Blackout Start/End – Use the calendar icon to select a date range or single day.
- Alert Text – This will be displayed on this day on the request screen and calendar (usually the reason for this blackout).
- Allow Requests – Choose this to allow employees to request on this day, this will warn the authoriser and leave it up to them.
- Applicable to – Decide if this date is applicable to the ‘Entire organisation’ or ‘Selected departments’. If using departments use the checkboxes to choose which ones this will apply to from the list.
Hit the ‘Save’ button to confirm changes. If you want to delete the currently selected date, hit the ‘Delete this blackout’ button.


